
Install a custom toilet door to enhance the aesthetics of your bathroom today! A custom toilet door is the best way to increase the functionality of your bathroom and give it a good look and feel. A custom door is catered to your choice of material, design, shape, and size. Such a door offers a welcoming gesture as you enter into your bathroom and can enhance your personal hygiene experience to another level.
Today, we will discuss the stepwise process for installing a custom toilet door. We will also mention all the tools needed for this job so that you can do it quickly and easily. If you need professional assistance with services related to glass toilet doors, pvc toilet doors, HDB toilet doors, etc., LS Toilet Door Singapore is your best choice.
Materials Needed To Install A Custom Toilet Door
Here are the materials you are going to need to install a custom toilet door yourself:
- A custom toilet door
- Door frame (if not pre-installed)
- Hinges
- Screws
- Screwdrivers
- Door handle and lock
- Measuring tape
- Level
- Marking pencil
- Safety gear (gloves/safety goggles)
How To Install A Custom Toilet Door – Step By Step Guide
Here is the stepwise approach to install a custom toilet door in your bathroom:
1. Planning And Measuring
Decide the area where you are going to install the custom toilet door. Also, decide on the type of custom door you want, e.g., a swing door, sliding door, bi-fold door, etc. Once you have decided on the type of door, measure the door frame to determine the size of the door you will need. Take multiple measurements to avoid any errors.
2. Prepare The Area
If you have an old door installed in the doorframe, remove it before installing the new one. Carefully set the old door aside, along with its hinges and handle. Inspect the doorframe and see its condition. Make any necessary adjustments to the frame to ensure that the new door fits perfectly inside. If the frame has been broken in many areas, you will have to get a new one as well.
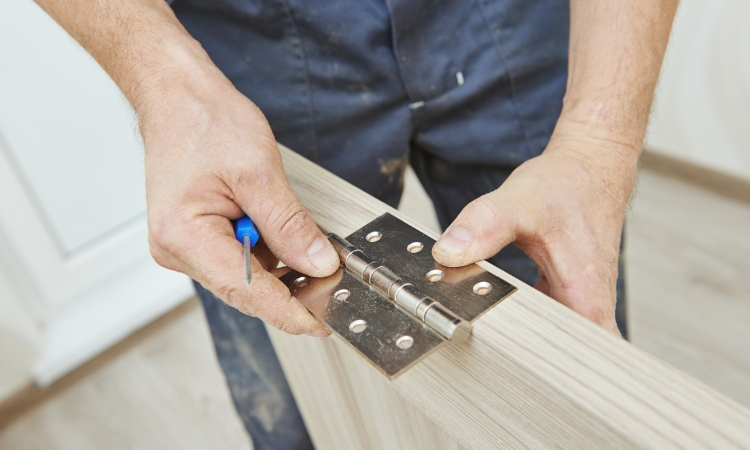
3. Install Hinges
Mark the position of the hinges on the door with a marking pencil. Typically, the hinges are marked 6 inches from the top and bottom, and a third hinge is marked in the centre for added security. However, the exact position can vary depending on the size of the door. Attach the hinges to the door at their marked places, and install them with the help of screws or nails. Make sure that the hinges are properly aligned and are securely fastened.
4. Install The Door
Hang the door in the frame and secure it by fastening it to its hinges. Ensure that the hinges are tight and properly aligned with their position on the door. Once the door has been installed, check its mobility by opening and closing it a few times. The movement should be smooth and without any instability.
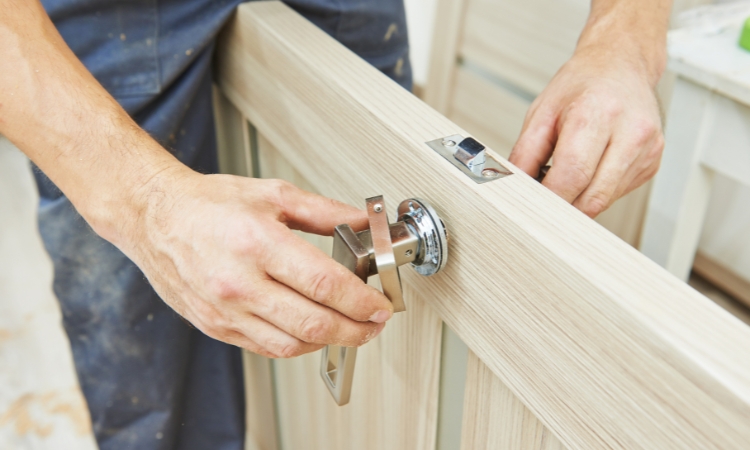
5. Install The Door Handle And Lock
The next step is to install the handle and lockset on the door. Both usually come with a door, and the manufacturer also gives instructions on how to install them. First, use the drill to make holes in the door. Then, follow the manufacturer’s instructions to install the door handle and lockset. Check the attachment of the handle and the lockset and ensure they are both secure. Check their functionality by using them a few times and ensure they work fine.
Conclusion
We have discussed the complete process to install a custom toilet door in detail. Make sure to have all the tools ready and working before starting. Measure the door and the frame and mark the position of the hinges so that they can be attached accordingly. Attach the door to the frame. Secure the door in its position with the help of screws. Check the door’s alignment using a level, and you will be done. The process is easy and simple and will only take a few hours. But you can also take the help of custom toilet door installation Singapore services to do the job for you.